Why Is My Pressure Cooker Not Building Pressure? Fix It
James Okafor
Coffee & Cooking Appliance Specialist
Table of Contents
On this page
17Why is my pressure cooker not building pressure? It is one of the most frustrating cooking problems — you load your pot, lock the lid, and wait. The timer never starts. Nothing happens. You are left with undercooked food and no clear answer.
The good news: 95% of pressure cooker failures come down to a small set of fixable problems. Most require no tools, no replacement parts, and under five minutes to resolve. This guide walks through every common cause in order of likelihood, with step-by-step fixes for both electric pressure cookers (Instant Pot, Ninja Foodi) and stovetop models.
If you are shopping for a new pressure cooker after repeated problems, our best Instant Pots guide covers the most reliable models on the market right now.
What You Will Need#
Before starting, gather these items:
- Clean dish towel or paper towels
- Warm soapy water in a bowl
- Flashlight (to inspect the lid channel)
- Replacement sealing ring (optional but recommended if yours is over 12 months old)
No special tools are required for any of the fixes below.
Why Is My Pressure Cooker Not Building Pressure: 9 Causes and Fixes#
Cause 1: Damaged or Improperly Seated Sealing Ring#
This is the single most common cause. The sealing ring — also called the gasket — is the silicone ring inside your lid. It creates an airtight seal when the lid locks. If it is not seated correctly, cracked, swollen, or missing, steam escapes instead of building pressure.
How to diagnose:
- Remove the lid and pull out the sealing ring.
- Inspect it under good light. Look for cracks, tears, warping, or deformation.
- Check that it fits snugly all the way around the ring rack with no gaps or lifted sections.
- Smell it — a strong burnt or sour odor indicates the ring has absorbed cooking residue and may be distorting its shape.
How to fix:
- If the ring is visibly damaged, replace it immediately. Official Instant Pot sealing rings cost around $8–$12 and fit multiple models.
- If it looks intact, remove it, wash it in warm soapy water, dry it fully, and reseat it carefully. Start from one side and press it evenly all the way around.
- Always keep a spare sealing ring. Most experienced pressure cooker users replace theirs every 12–18 months or after 200+ uses.
Pro Tip: Many cooks keep two sealing rings — one for savory dishes and one for sweet or neutral foods. Silicone absorbs odors over time, and a curry-scented ring on a cheesecake batch is not ideal.
Cause 2: Float Valve Blocked or Stuck#
The float valve (the small metal pin on the lid) must rise to signal that pressure has built. If it is sticky, clogged with food residue, or mechanically stuck, your cooker will stall in the preheat phase and never reach pressure.
How to diagnose:
- With the cooker empty and unplugged (electric) or off the heat (stovetop), push the float valve gently from underneath with a finger or chopstick.
- It should move freely up and down with minimal resistance.
- If it resists, feels gummy, or does not pop back, it is the problem.
How to fix:
- Remove the float valve (on most Instant Pot models it pulls straight out with a gentle tug).
- Wash it in warm soapy water and dry thoroughly.
- Check the float valve silicone cap (the small rubber ring around it) — replace if it looks flat or cracked.
- Reinstall and test movement again before sealing.
Cause 3: Steam Release Valve Set to Venting Instead of Sealing#
This is the most embarrassing fix — and it happens constantly. On electric pressure cookers, the steam release handle must be set to the Sealing position before the lid locks. If it is on Venting, steam releases continuously and pressure never builds.
How to fix:
- Turn the steam release knob or lever firmly to the Sealing position.
- On newer Instant Pot models (Duo Plus, Pro), the valve self-seals automatically when you close the lid. Verify yours is the same.
- If your model requires manual positioning, make this the first thing you check before every cook.
Pro Tip: Tape a small note to your cooker's storage spot: "Valve → Sealing?" until the habit is automatic. Our Instant Pot vs slow cooker comparison breaks down why pressure cooking is worth the learning curve.
Cause 4: Not Enough Liquid in the Pot#
Pressure cookers generate pressure through steam. Steam requires liquid. If there is not enough water or cooking liquid in the pot, the cooker generates the "Burn" error (on Instant Pot models) or simply never pressurizes.
Minimum liquid requirements:
- Electric pressure cookers (6-quart): 1 cup (240ml) minimum
- Electric pressure cookers (3-quart): ½ cup (120ml) minimum
- Stovetop pressure cookers: 1–2 cups depending on cook time
Important: Thick sauces, tomato paste, and dairy do not count toward liquid minimums. They block steam production. Always add water or broth separately from thick ingredients.
How to fix:
- Add at least 1 cup of thin liquid (water, broth, juice) to any recipe.
- Layer thick ingredients on top and liquid on the bottom.
- If you received a "Burn" warning, deglaze the pot before restarting.
Cause 5: Overfilled Pot#
The opposite problem is equally disruptive. Filling your pressure cooker above the MAX fill line (typically two-thirds full for most foods, half full for foods that expand like beans and grains) prevents proper pressurization. Liquid or food foam can block the float valve and steam vents.
How to fix:
- Check the MAX line stamped inside your inner pot.
- For beans, lentils, rice, and oatmeal, fill to no more than half capacity.
- If needed, cook in two batches.
Cause 6: Faulty or Misaligned Lid#
The lid must engage every locking mechanism simultaneously to achieve a seal. A warped lid, bent locking mechanism, or simply not closing the lid to the correct position can prevent a pressure seal.
How to diagnose:
- Remove and reattach the lid slowly. Listen and feel for each click of the locking tabs.
- On Instant Pot models, the lid should sit flat with the handle aligned to the correct markers.
- Inspect the underside of the lid for any visible warping or damage.
How to fix:
- Re-close the lid and rotate it firmly until it locks. Some models require a firm push before rotating.
- Examine the locking lugs (the raised tabs that catch the lid). If one is bent, this may require a replacement lid.
- Contact customer support if your cooker is under warranty — a faulty lid is a warranty claim.
Cause 7: Dirty or Blocked Anti-Block Shield#
The anti-block shield is a stainless steel cover over the steam outlet inside the pot lid. Food particles and starch buildup block it over time. A blocked shield prevents steam from flowing to the pressure sensor, causing the cooker to time out without pressurizing.
How to fix:
- With the lid removed, locate the anti-block shield — it is the small dome-shaped cover near the center underside of the lid.
- On most Instant Pot models, it twists off counterclockwise.
- Wash it and the surrounding area thoroughly with warm soapy water.
- Use a small brush to remove any caked-on starch.
- Reinstall and test.
This is a maintenance step many users skip entirely. Clean it every 10–15 uses.
Cause 8: Heating Element Malfunction (Electric Cookers)#
If all the mechanical components check out, the problem may be electrical. A failing heating element produces insufficient heat to generate steam pressure. On electric cookers, signs include:
- The unit powers on but takes longer than 30 minutes to reach pressure
- The "preheat" phase runs indefinitely
- The pot feels warm but not hot to the touch on the base
How to fix:
- Check your warranty status. Most Instant Pot models carry a 1-year warranty; the Pro model offers extended coverage.
- Run a water test: add 2 cups of water, seal, and set to High Pressure for 5 minutes. If it takes over 20 minutes to pressurize, the element is likely degraded.
- Contact Instant Pot customer support or the manufacturer for a replacement or repair.
See our pressure cooker buying guide for what to prioritize when selecting a replacement unit.
Cause 9: Worn or Incorrect Sealing Ring for Your Model#
Not all sealing rings are universal. Using a ring designed for a 3-quart pot on a 6-quart cooker (or vice versa) results in an imperfect seal. Similarly, third-party rings vary in silicone quality and may not maintain the correct pressure over time.
How to fix:
- Verify you are using the correct ring for your exact model and quart size.
- Use OEM (original equipment manufacturer) rings whenever possible.
- The model number is stamped on the base of your pressure cooker.
Step-by-Step: Full Troubleshooting Sequence#
Work through this checklist in order before calling for support:
- Check the steam release valve — must be on Sealing
- Remove and inspect the sealing ring — look for damage, reseat it properly
- Test the float valve — must move freely up and down
- Verify liquid level — at least 1 cup of thin liquid
- Check fill level — must be below the MAX line
- Re-close and re-lock the lid — confirm every locking point clicks
- Clean the anti-block shield — remove, wash, reinstall
- Run a plain water test — 2 cups water, 5 minutes on High Pressure
- Contact support or replace — if the water test still fails
Most users find the fix at step 1, 2, or 3. Going through all nine steps takes less than 15 minutes.
How Long Should a Pressure Cooker Take to Build Pressure?#
Understanding normal build times helps you know when something is actually wrong.
| Cooker Size | Amount of Food | Expected Pressure Build Time |
|---|---|---|
| 3-quart (less than half full) | Small batch | 5–10 minutes |
| 6-quart (half full) | Standard batch | 10–15 minutes |
| 6-quart (two-thirds full) | Large batch | 15–25 minutes |
| 8-quart (standard fill) | Large batch | 20–30 minutes |
If your cooker consistently takes longer than these ranges with the pot at a standard fill level, the heating element or sealing system likely needs attention.
Pro Tip: Cold or frozen ingredients dramatically extend preheat time. Add 5–10 extra minutes to your estimate when starting from cold. Always deglaze the pot with liquid after browning meat to prevent the Burn error.
Maintenance Tips to Prevent Pressure Problems#
Preventing failures is easier than fixing them. These habits keep your pressure cooker reliable for years:
- Wash the sealing ring after every use. Do not leave it installed when storing — let it breathe to reduce odor absorption.
- Inspect the ring monthly. Replace it every 12–18 months or at the first sign of cracking.
- Clean the float valve and its silicone cap every five to ten uses.
- Wipe the lid channel (the groove where the ring sits) with a damp cloth after each use.
- Descale your inner pot every two to three months with a white vinegar soak if you cook with hard water — mineral deposits affect heat transfer.
- Store the lid upside down on top of the pot rather than locked in place. This preserves the sealing ring shape.
Our roundup of best multi-cookers under $200 highlights models with the best long-term reliability ratings if you are evaluating an upgrade.
When to Replace Your Pressure Cooker#
Not every pressure cooker problem is fixable. Replace your unit if:
- The inner pot is pitted, discolored deeply, or shows surface flaking
- The lid or locking mechanism is warped or cracked
- The heating element fails a water test after replacing all mechanical parts
- Your unit is more than five years old with daily use and has been repaired multiple times
The Instant Pot Duo Plus 6-quart and Instant Pot Pro 6-quart are the most consistently reliable replacements at the $80–$130 price point in 2026. Both include upgraded sealing systems and better float valve mechanisms compared to older generation units.
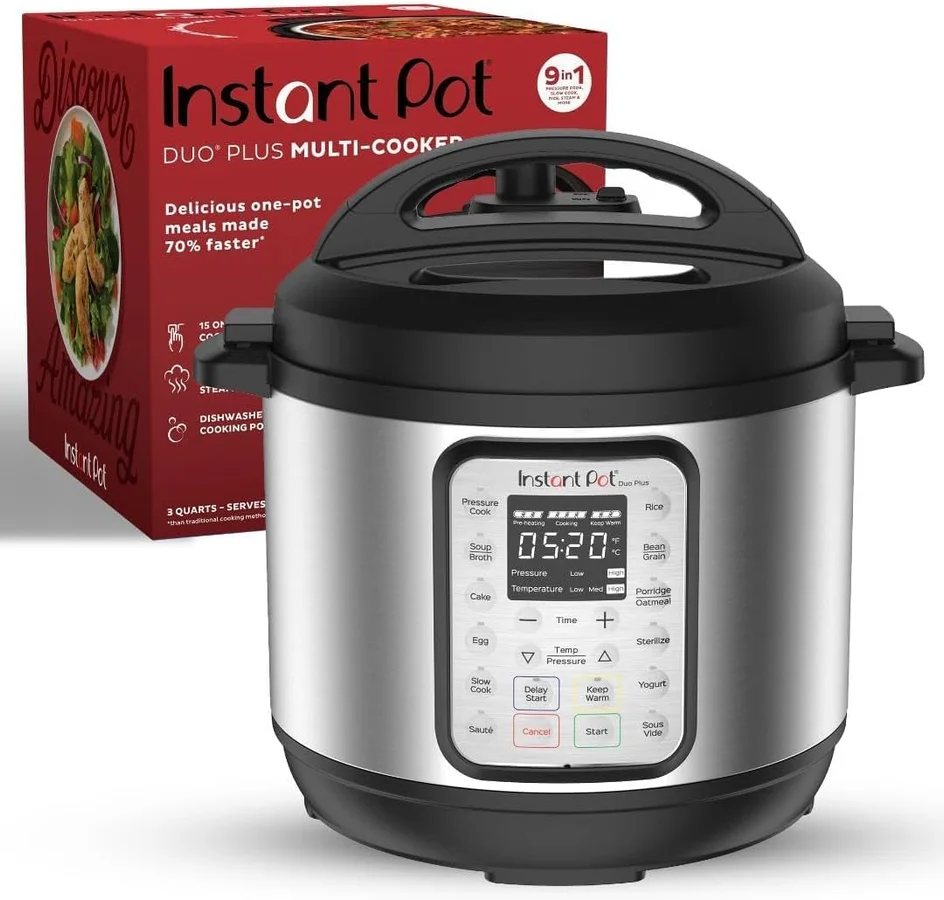
Instant Pot
Instant Pot Duo Plus 6QT 9-in-1
Our Rating
Amazon
Price
$99.99
Key Specifications
Pros & Cons
Pros
- Excellent feature-to-price ratio
- WhisperQuiet steam release (74 dB)
- 9 cooking functions
- dishwasher-safe lid and pot
- includes 2 sealing rings
- tri-ply stainless steel inner pot
Cons
- Lid alignment tricky for beginners
- bulky for small cabinets
- 1-year warranty is short
- no air fry capability
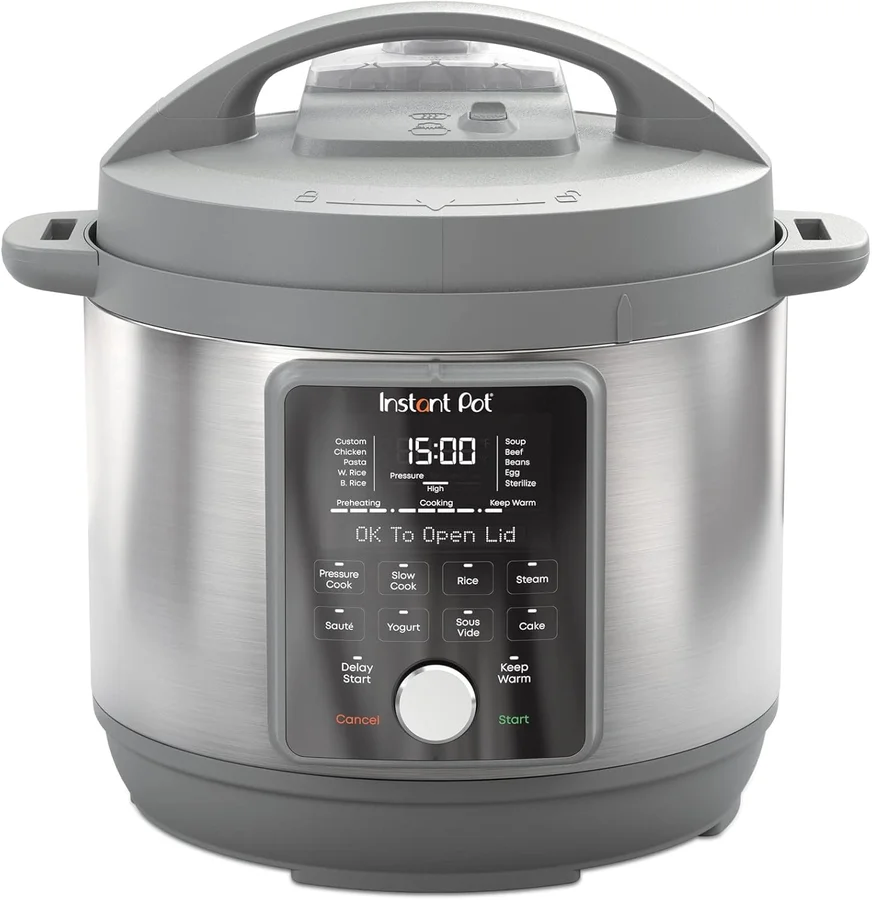
Instant Pot
Instant Pot Pro 6QT 10-in-1
Our Rating
Amazon
Price
$129.99
Key Specifications
Pros & Cons
Pros
- Best sauté performance
- safest steam release system
- custom memory presets
- silicone-handled inner pot is stovetop compatible
- even heat distribution
- 28 customizable programs
Cons
- $40-50 premium over Duo Plus for similar pressure cooking results
- fixed power cord
- cake and egg presets are niche
- diminishing returns for casual users
Frequently Asked Questions#
Frequently Asked Questions
8 questions answered
The most common reason a pressure cooker is not building pressure is an improperly seated or damaged sealing ring. Other frequent causes include the steam release valve being set to Venting instead of Sealing, insufficient liquid (less than 1 cup), a blocked float valve, or an overfilled pot. Work through each cause in order to isolate the problem.
An Instant Pot takes longer to build pressure when starting from cold ingredients, when the pot is filled near capacity, or when the heating element is aging. A 6-quart pot filled two-thirds full can take 15–25 minutes. If it consistently takes over 30 minutes, inspect the sealing ring and run a plain water test to test the heating element.
Replace your sealing ring if it has visible cracks, tears, or permanent deformation, if it no longer sits flush in the lid channel, or if it is over 18 months old with regular use. A ring that has lost elasticity will feel loose or rigid compared to a new one. Replacement rings cost $8–$12 and should be kept in stock.
Steam escaping from the lid sides means the sealing ring is not creating an airtight seal. Remove the lid, pull out the ring, inspect it for damage, and reseat it firmly all the way around. If steam continues after reseating, the ring is damaged and needs replacement. Steam from the float valve area suggests the float valve silicone cap is worn.
No. A pressure cooker cannot build pressure without the sealing ring installed and properly seated. Without it, steam escapes freely and the pot functions only as a regular pot. Never attempt to pressure cook without the ring in place.
The burn notice appears when the heating element detects scorching on the pot bottom before enough steam pressure builds. This is caused by insufficient liquid, thick sauces touching the heating element, or food debris stuck to the pot base. Deglaze the pot with at least 1 cup of water or broth, layer thick sauces on top, and restart.
Replace your pressure cooker sealing ring every 12–18 months with regular use, or sooner if it shows signs of cracking, swelling, or loss of elasticity. Heavy users (four or more times per week) should replace it every 8–12 months. Keeping a spare ring on hand avoids unexpected cooking failures.
Yes. Only thin liquids like water, broth, or juice generate the steam needed for pressurization. Thick sauces, tomato paste, cream, and dairy do not vaporize efficiently and can burn before enough steam builds. Always add a minimum of 1 cup of thin liquid separately from thick ingredients, layering thick sauces on top.
Final Verdict#
Why is my pressure cooker not building pressure? In nearly every case, the answer is one of three things: a sealing ring that is damaged, unseated, or worn out; a steam release valve left on Venting; or too little liquid in the pot. These three causes account for the overwhelming majority of pressure failures, and all three are fixed in under five minutes.
Work through the full nine-step checklist above before assuming your cooker is broken. A $10 replacement sealing ring resolves most "dead" pressure cookers. If a water test still fails after replacing mechanical parts, the heating element is the likely culprit and a warranty claim or replacement unit is the right call.
For a full list of the most dependable pressure cookers currently available, see our best Instant Pots roundup — updated for 2026 with real-world reliability data.
Prices mentioned in this article are estimates. Prices may vary by retailer and over time. Always verify current pricing before purchasing.